Saturday 29 September 2012

Carrot Rice

Carrot Rice
Hi Friends,
I wanted to tell you one thing that now i can feel the arrival of   upcoming so many festivals in the air. I really love this feeling and phase. Evenings are bit cozy now. Markets are flooded with lighting, gifts, dhanush vaan(arrow and bow), talwaar (sword), masks of Rama, ravana and hanumaan ji and lots of other things. Next three months are for total enjoyment. Dassehra, Diwali, Karwa chaouth and so many wedding functions are on the row. I am so excited. Now everyday i will feel like doing shopping for endless things. list is too long to mention. 
                            
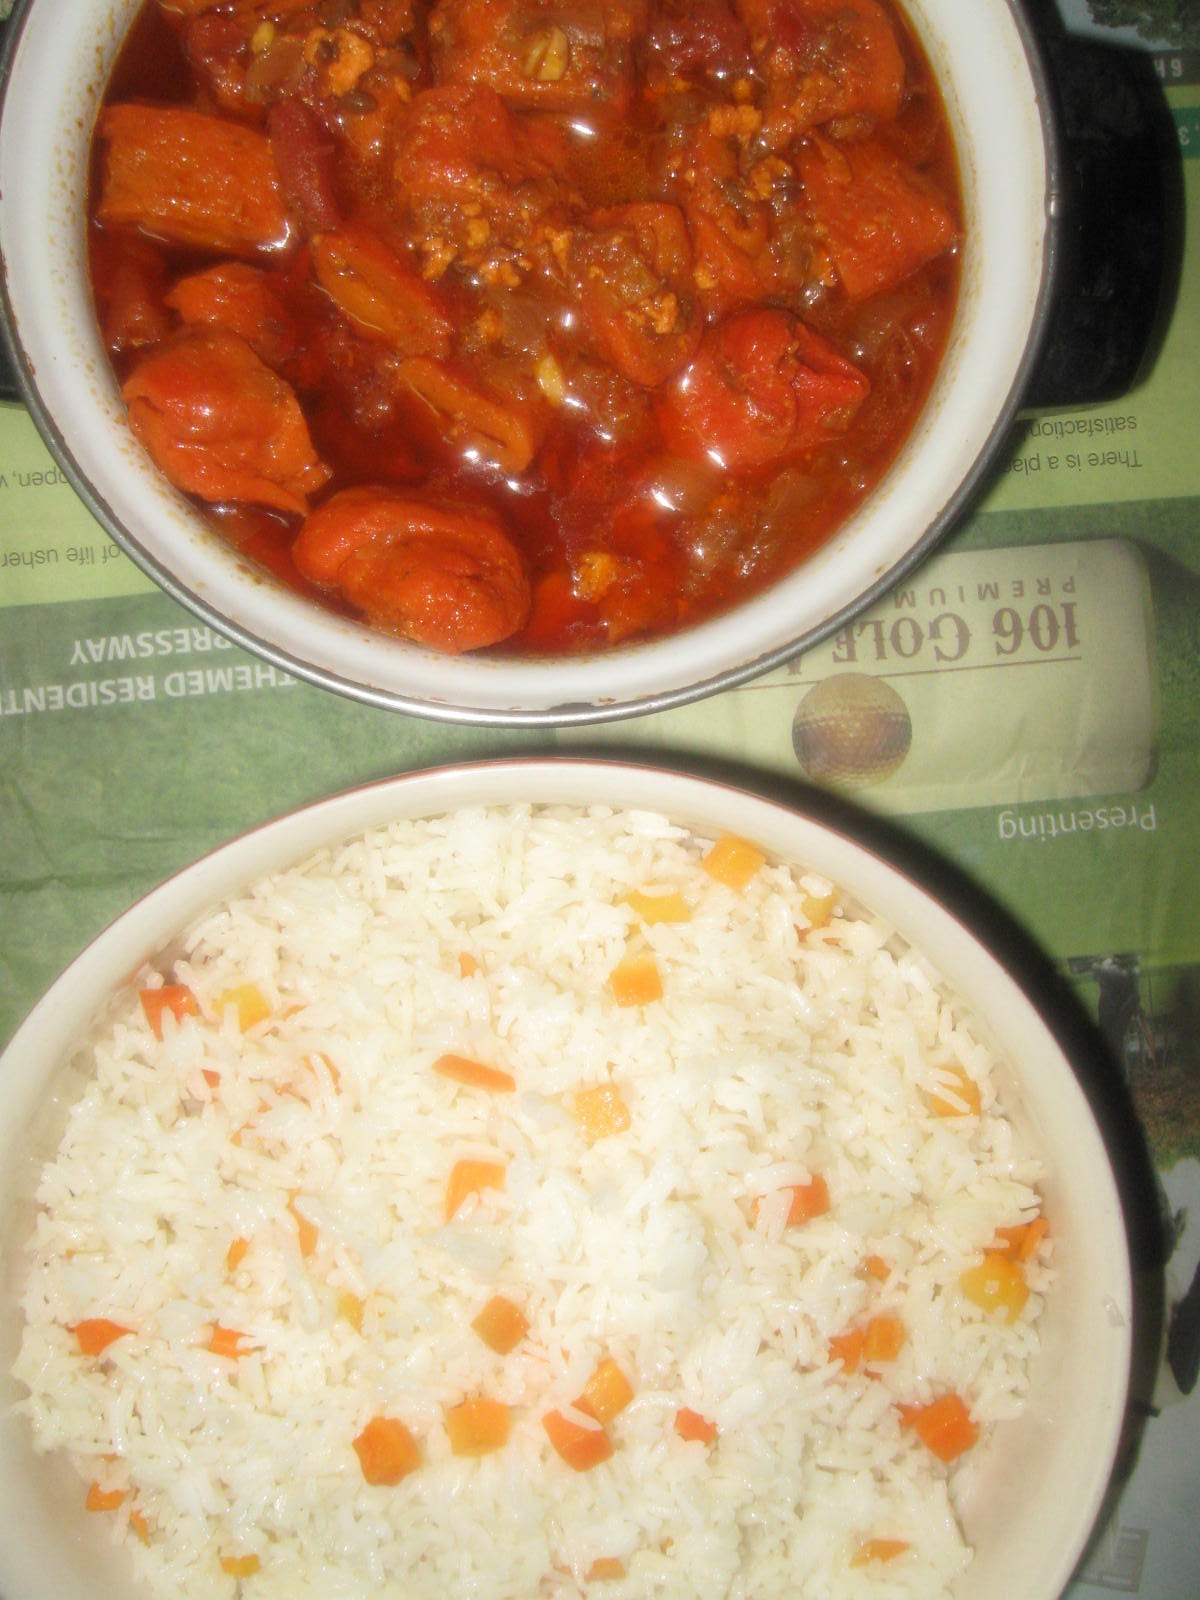
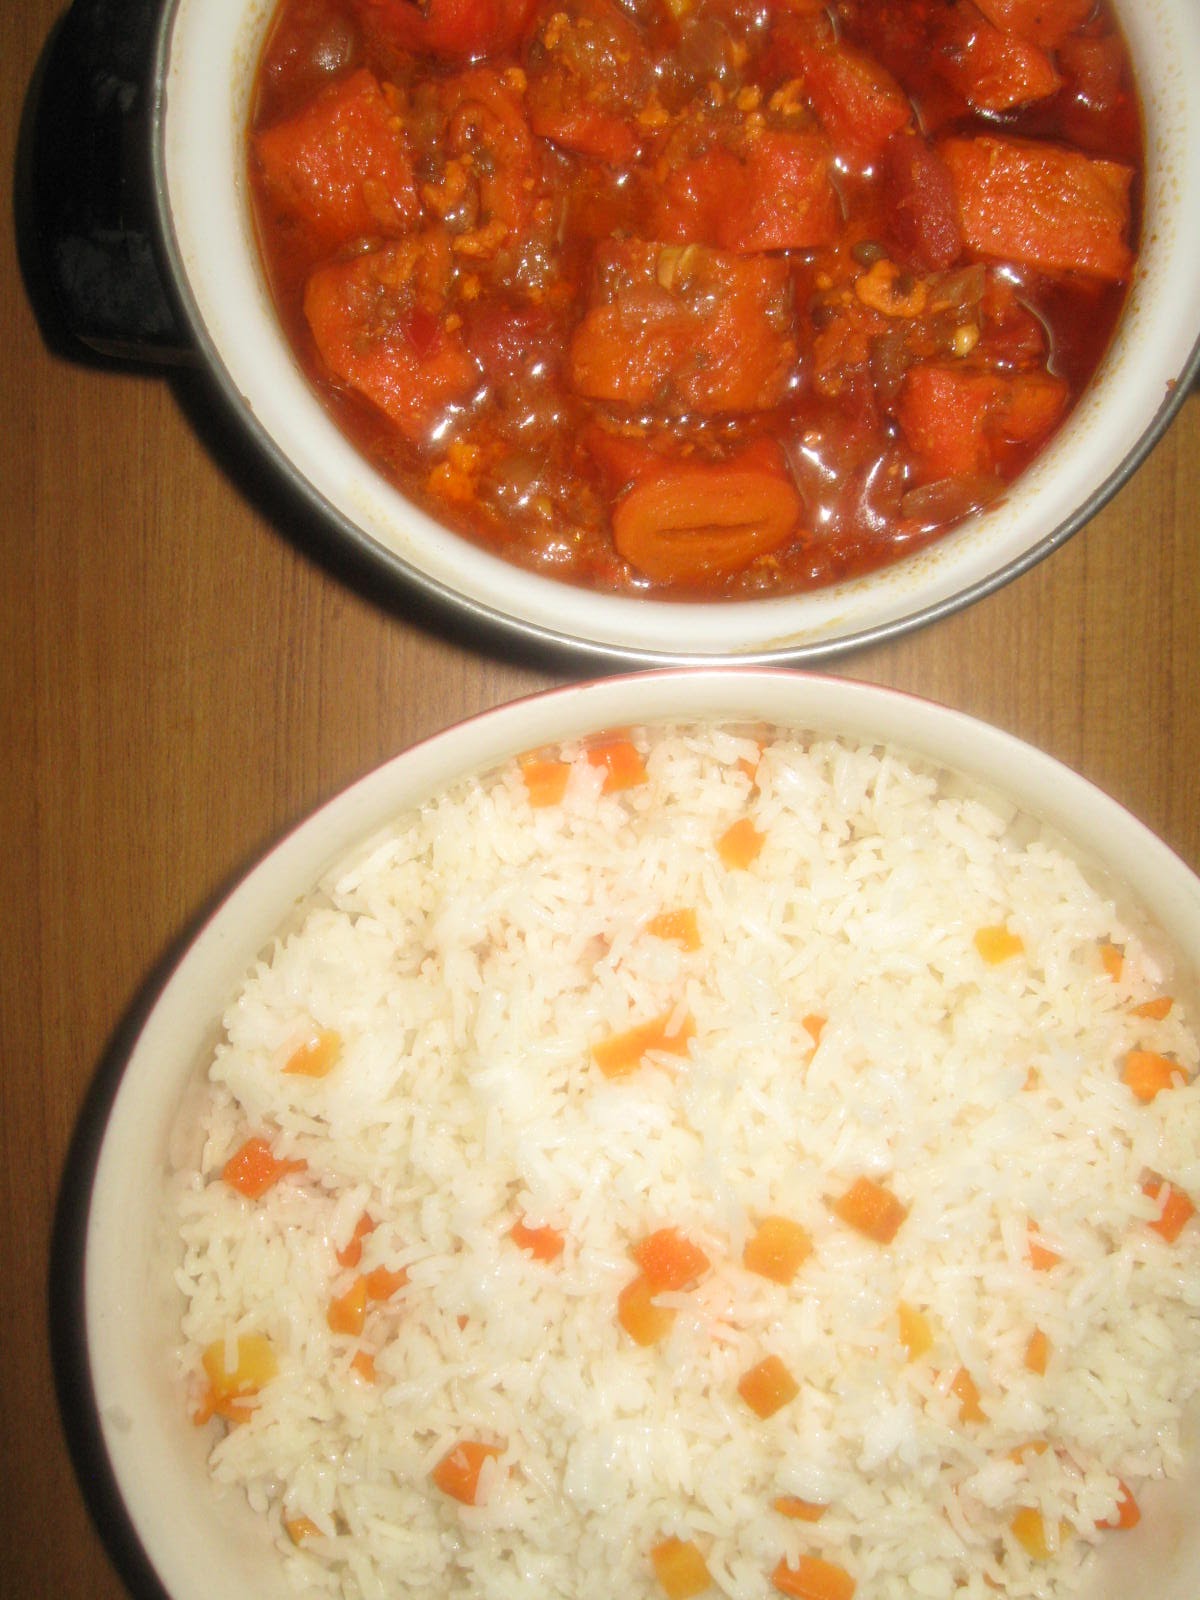
I like bright colors in everything weather it is a dish or clothes or home linen or accessories, means anything.  It is one of the reason for my love towards festival seasons which brings lots of color of lights, sweets, cloths, gifts and many more things. I am in love with the bright color dishes served in colorful or crystal clear serving bowls, i simply love them. I know here pictures of rice are disappointing  but actually they were looking fabulous while i served them with Soya chaap paneer masala(recipe coming soon). So friends here i am posting Carrot rice with blends well with the any side dish from Raita to any daal, Sabzi. Carrot gives a crunchy munchy taste in between soft texture of rice. I feel there is no need to add any spice as carrot will give you amazing flavor. I like it that way only. So use follow your imagination and taste. Here is the recipe.

Ingredients:-
Boiled Rice - 1 & 1/2 cup
Caroot - 1 cup (chopped in small cubes)
Oil- 1 tbsp

Method:-

Gather your ingredients

Take 1 tbsp oil in a pan

Add chopped Carrot

Add boiled rice and mix well

Keep mixing for few seconds switch off the gas and keep covered for few seconds

 uncover and serve

I served it with Soya Chaap Paneer Masala


Sending this to event, Bon Vivant #8 - Rice Recipes


Notes:-
  1. If you need real crunchy taste of carrots the Don't add them while boiling rice.
  2. You can add bit of salt in it but i didn't felt adding anything else.

HOPE YOU WILL LIKE IT

LOVE
PariCash


Friday 28 September 2012

Tomato Side Dish/ Tamatar Chatni without mixer grinder/ Side Dish for Parantha, Naan, Kulcha

Tomato Side Dish/
Tamatar Chatni without mixer grinder/
Side Dish for Parantha, Naan, Kulcha etc. 
Hi Friends,
Life teach us so many lessons, Have you heard this proverb-NECESSITY IS THE MOTHER OF INVENTION. My inventions are made in kitchen always, as a working mother, sometimes i reach home very late and the time in my hand to make dinner is 15-20 min. So, so many dishes are invented in this time span. I always search for the recipes which is easy and need minimal ingredients.
Two days back i made simple ajwain parantha for kids tiffin and when i headed towards my fridge to check what is available to make a simple side dish for two kiddies. I was just left with 2 tomatoes and after staring at these tomatoes for one minute, i went straight to the kitchen and exact after 10 minutes kids lunch was packed. Yes this is that much easy recipe. I was so happy with he outcome. I have heard about this kind of chatni before but don't know the exact method. So i just used my imagination and this yummy chatni/side dish was ready. So guys try it and tell me your experience.

Ingredients:-
Tomatoes-2 medium (chopped roughly)
Onion- 1 medium (chopped roughly)
Cumin Seeds - 1/2 tsp
Mustered Seeds- 1/2 tsp
Amchoor pdr -1/2 tsp
Salt - 1/2 tsp

Method:-
Gather Your Ingredients

Heat 1 tsp oil in a pan

crackle cumin seeds and mustered seeds

Add chopped onion and tomato and stir well 
 
Add salt and amchoor pdr and mix well

Now splash it with 2 tbsp water, cover and cook for one minute
(see notes)

After one minute remove cover and cook for more 1-2 min 

water will evaporate 

                      and you will be left with yummy dry chatni

Serve


Notes:-
  1. I used onion for some crunch, you can skip to add it.
  2. I wanted to make it faster and busy in other things so can't stir it continuously, so i added 2 tbsp water, you can add 2-3 tsp water and stir continuously.
  3. You can add your favorite spices in it. It was for kids so i didn't added any chilly in it. 

HOPE YOU WILL LIKE IT

Love 
PariCash

Thursday 27 September 2012

Sweet Rice/Zarda

Sweet Rice/Zarda
Hi Friends,
I am overwhelmed with the results of my First Event i have started. I was not expecting such mouth watering recipes for my event. Now i am planning for my Second Event and Giveaway. lets see what will happens. Now to the recipe. I am here with a Sweet Rice Recipe which is also called Zarda, i made few day back. My Naani (mom's mother) use to make these rice. These rice reminded my childhood memories. She use to make them especially for me. Even when my sis tated them she said, Naani use to make these rice for us na?
It came out so good. Softness of rice and crunch of dry fruits made a great combination to go together. I am a total sweet person but i don't know why i liked the such a light sweetness in this recipe. The sweetness was just perfect for all those who prefer less sweet. Its a great sweet dish for kids. I used ghee for frying. You can use any vegetable oil or totally skip adding oil. or for more healthier version you can use olive oil. But for this kind of great texture it would advise you to add oil/ghee for this. Don't worry you need hardly 3-4 tsp. So try them and tell me who is connected with this recipe.

Ingredients:-
Boiled Rice- 1 & cups
Sugar - 1 & 1/2 tbsp
Yellow color or saffron - a pinch
Dry fruits- as per your choice 
(i used 1 tbsp almonds, 1 tbsp coconut and 1 tbsp peanuts)

Method:-
Gather your ingredients

Heat 1 tsp ghee/oil in kadai

Fry peanuts in it and remove

Then fry chopped almonds and coconut in same oil for few seconds

Add boiled Rice

Mix well

Add yellow color

Mix Well and Throw fried peanuts in it

Now at the end add sugar give it a quick stir and cover with lid 

switch off the gas after one min again remove the cover and stir again. Your Sweet Rice is ready


Sending this to event, Bon Vivant #8 - Rice Recipes


WTML ROUND UP


Sending this to 

FEAST FOR YOUR GURU happening @ my friend viji's blog 


Notes:-
  1. You can use saffron instead of yellow color.
  2. After adding sugar i switched off the gas and covered the kadai after one min i stir it again. This method was perfect to cook rice with sugar, if you find un melted sugar then again switch on the gas and cook until sugar melted properly.
  3. You can make them without color also, but i wanted to make them attractive and also i like them this way.

Hope you will like it
Love 
PariCash

Wednesday 26 September 2012

Cake ?????

Cake ?????
Hi Friends, 
I never new that an event will give me so many fabulous friends. I am glad to read comments and people liking my This tiny vegetarian corner. I thank all my readers to give me such a huge support. Earlier i thought i don't know weather i will be able to keep this blog for a longer time, but support of all of you giving me more and more encouragement. As i told you earlier that i like to do experiment in my kitchen but before starting this blog i was so afraid to try anything new. Now i am becoming more and more daring. 
I did one more experiment and it came out so tasty, ready was within 20 min and when i asked my family to guess the ingredients they all were totally clueless. When i told my hubby the main ingredient (who was busy in gulping this cake) he gave me a surprised look. There are few things which should be kept in mind while making this (see notes). So guys may be its not very new for my south Indian reader, i really don't know. Actually i have heard about their one similar cake. So please let me know if any slimier recipe really does exist. Here we go with the recipe.

Ingredients:-
Idli Batter- 2 cups
Coco Powder- 2 tbsp
Sugar - 2 tbsp
Dry Fruits- as per your choice

Method:-
(please read notes carefully)
Gather your ingredients


Add coco powder, sugar in idli batter

 gently mix them

Take any cake pan or any bowl or plate with sides
grease it with oil as we do for idlis and pour batter in it

Decorate with nuts

Now we need to steam it
(You can use your idli cooker for this)
i used a large kadai, filled 1 inch water and put one idli stand in it 

Adjust your cake pan on that idli stand

Cover and stem for 10-15 min
(check after 10 min, insert a toothpick or knife gently in it if comes out clean then its done, if not then steam for more 2-3 min and check again)

Mine was done after 12 min
(it depends upon the thickness of cake)

Remove and Cool it a bit

Cut and Serve

I served it with Chocolate Sauce (see notes)

Wanna have some?

Notes:-
  1. I used only 2 tsp sugar and i felt it was very less, so increased it to 2 tbsp in the recipe.
  2. I used 2 tsp cocoa, which again came out very less, so i also increased it to 2 tbsp in the recipe.
  3. Cake came out less sweet so i served it with Chocolate sauce and no body recognized the main ingredient. 
  4. I poured some sauce in serving plate, placed piece of cake and again poured sauce on it to hide the sweetness.
  5. Use fresh idli batter, not sour one.
  6. Thickness of cake is very important, don't make it more then 2 inch thick, so use wide cake mold/pan, as it would not be cooked from inside and will take longer time.
  7. You can add nuts, dry fruits, tutti frutii, as it was first time i was making it so used very less ingredients.

HOPE YOU WILL LIKE IT

LOVE
PariCash